
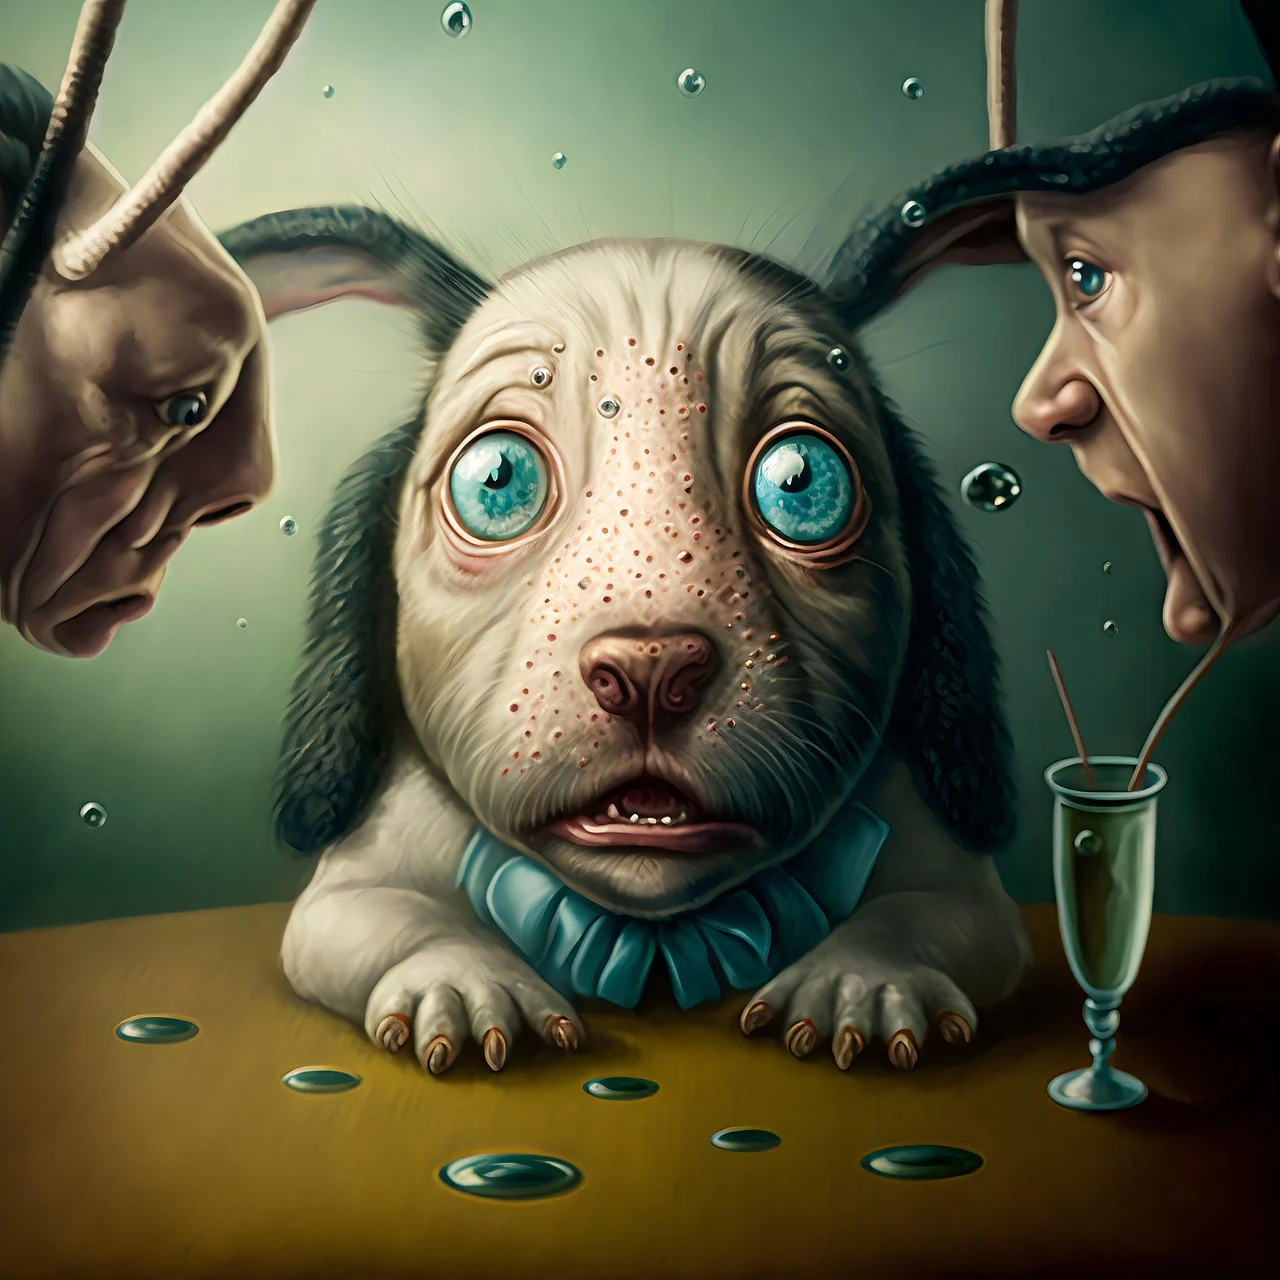
 View prompt
a wide-eyed fantasy puppy beside a dining table
a wide-eyed fantasy puppy beside a dining table. One continuous scene. Keep a clear focal subject, describe one visible action and use restrained camera movement.
Claim 50 free credits · Check in for up to 100 weekly
HappyHorse 1.1 offers a text-led scene or animation from one source image.
Open a scene to inspect its image and prompt, then adapt the subject and movement to your own shot.
View prompta wide-eyed fantasy puppy beside a dining table. One continuous scene. Keep a clear focal subject, describe one visible action and use restrained camera movement.
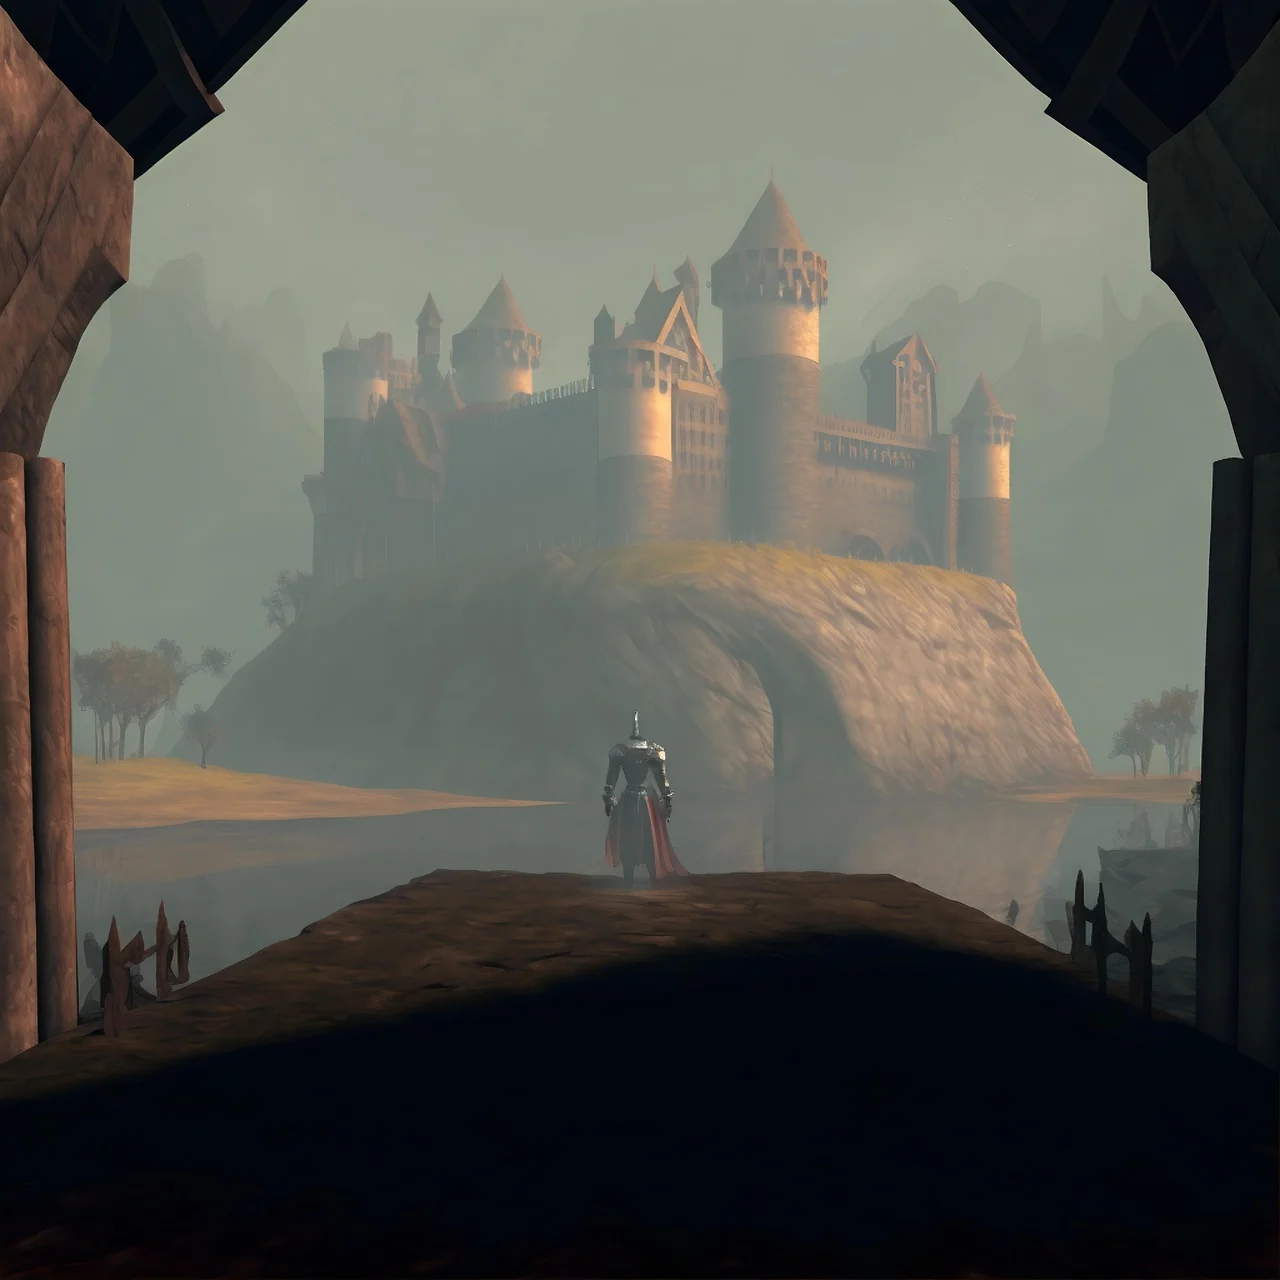 View prompt
a lone knight before a misty castle. One continuous scene. Keep a clear focal subject, describe one visible action and use restrained camera movement.
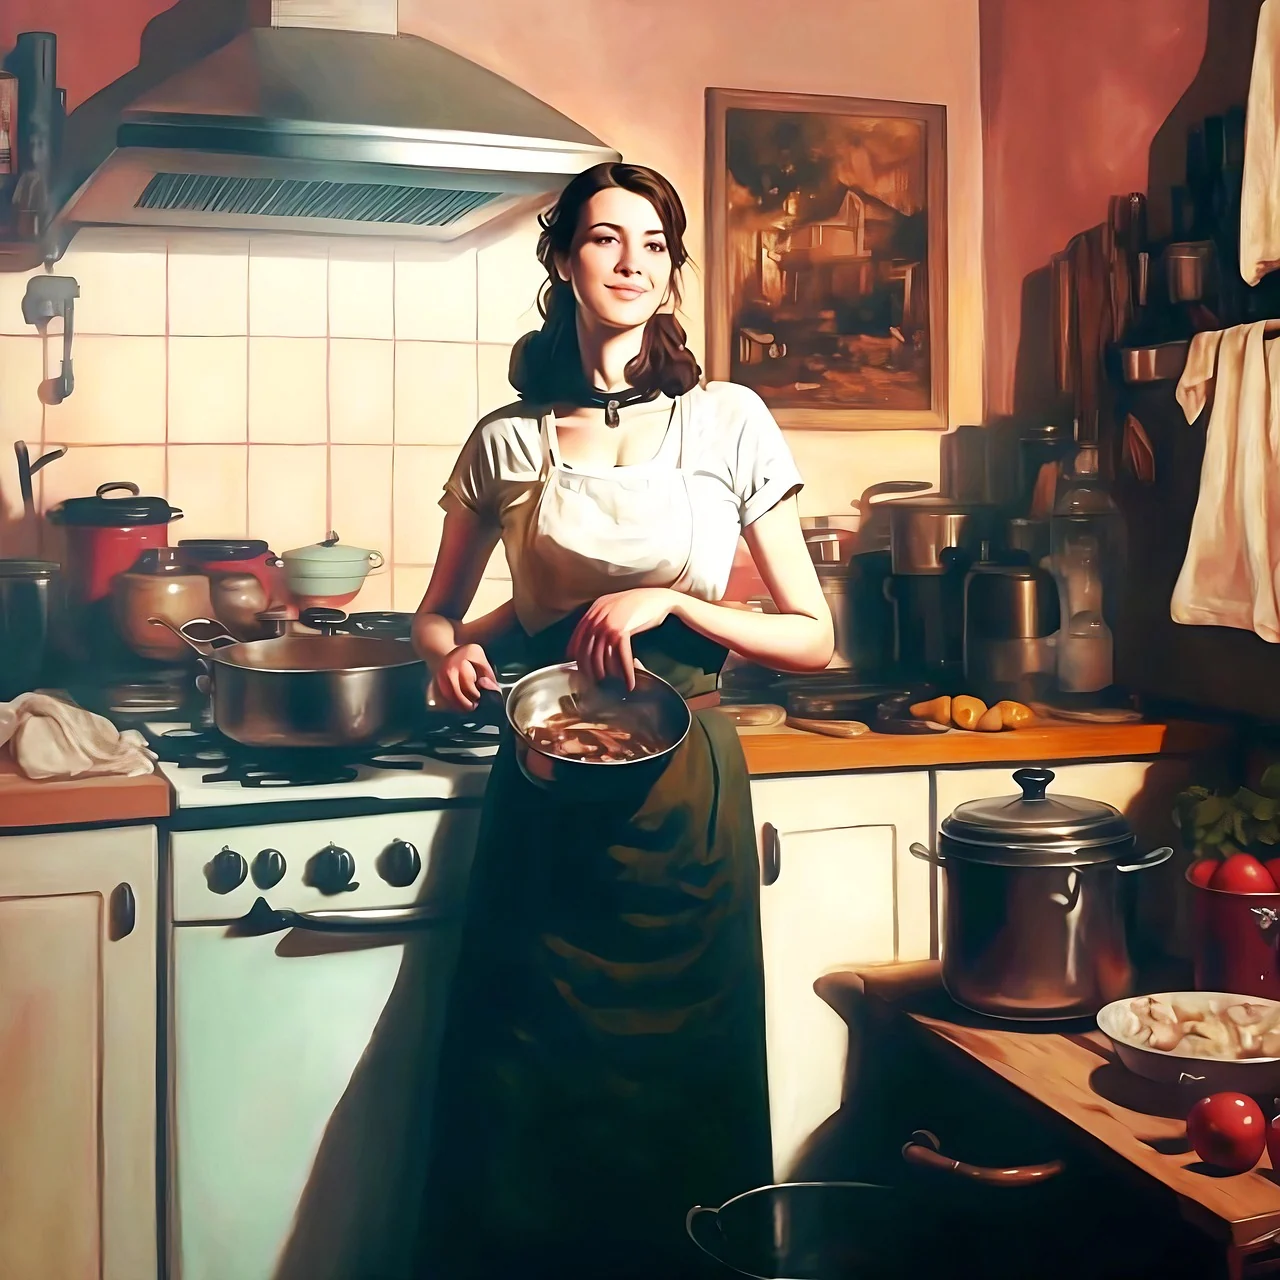 View prompt
a figure preparing food in a warm vintage kitchen. One continuous scene. Keep a clear focal subject, describe one visible action and use restrained camera movement.
 View prompt
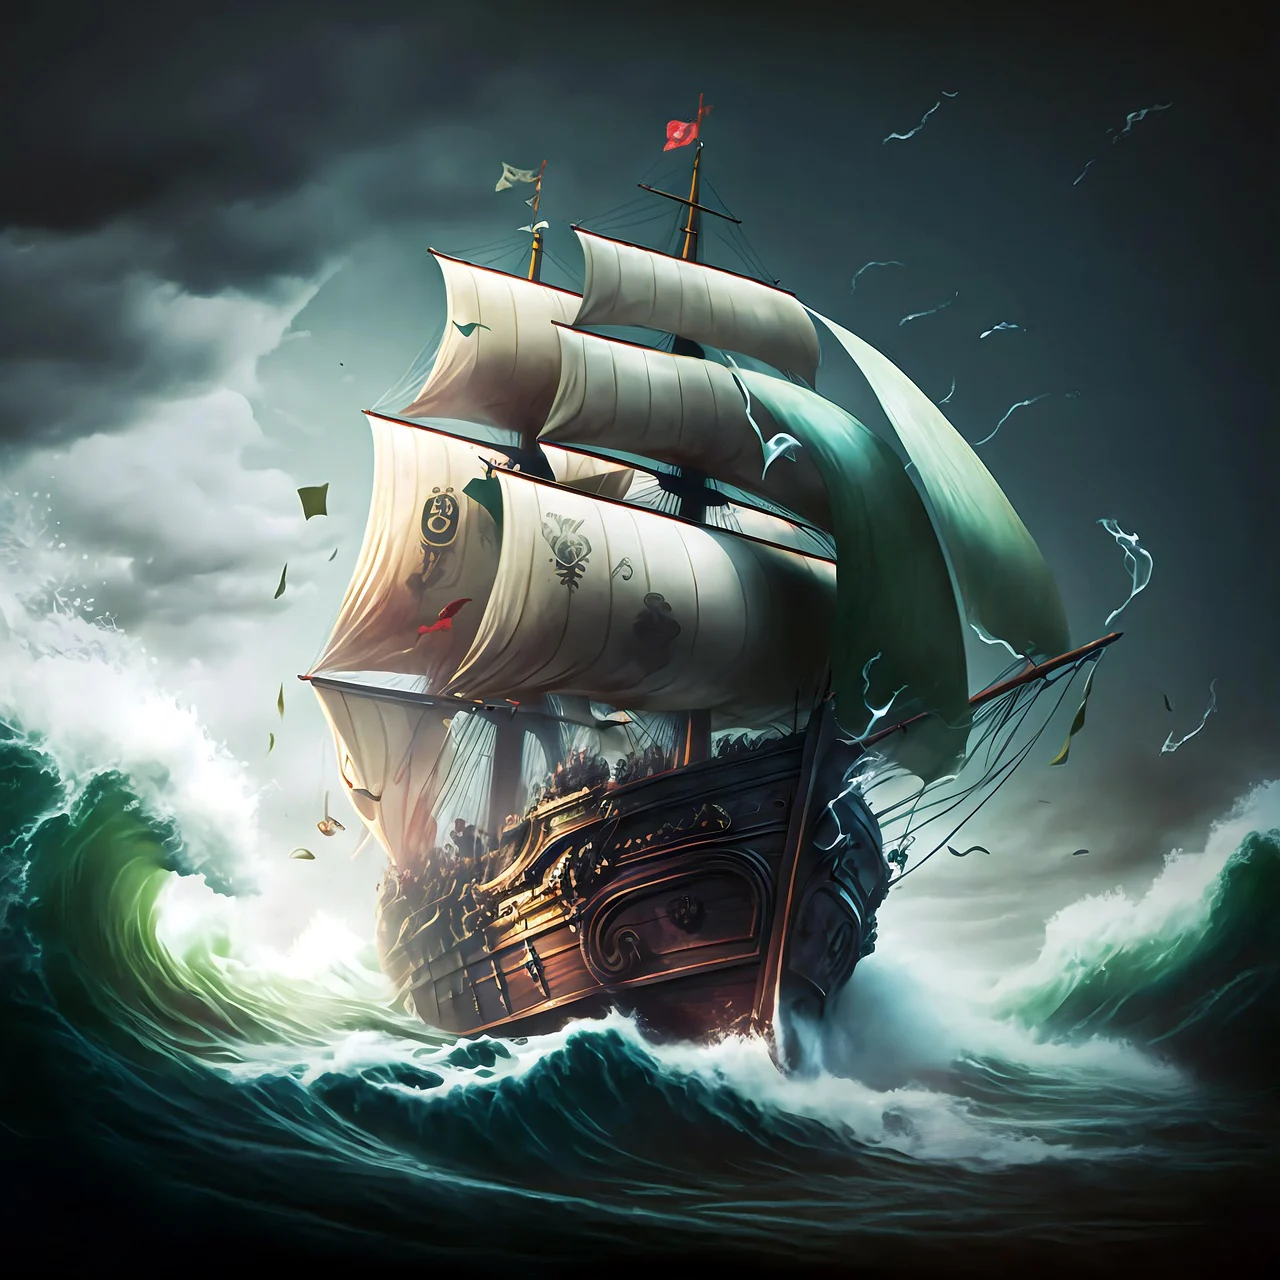
a traditional sailing ship navigating rough waves. One continuous scene. Keep a clear focal subject, describe one visible action and use restrained camera movement.
 View prompt
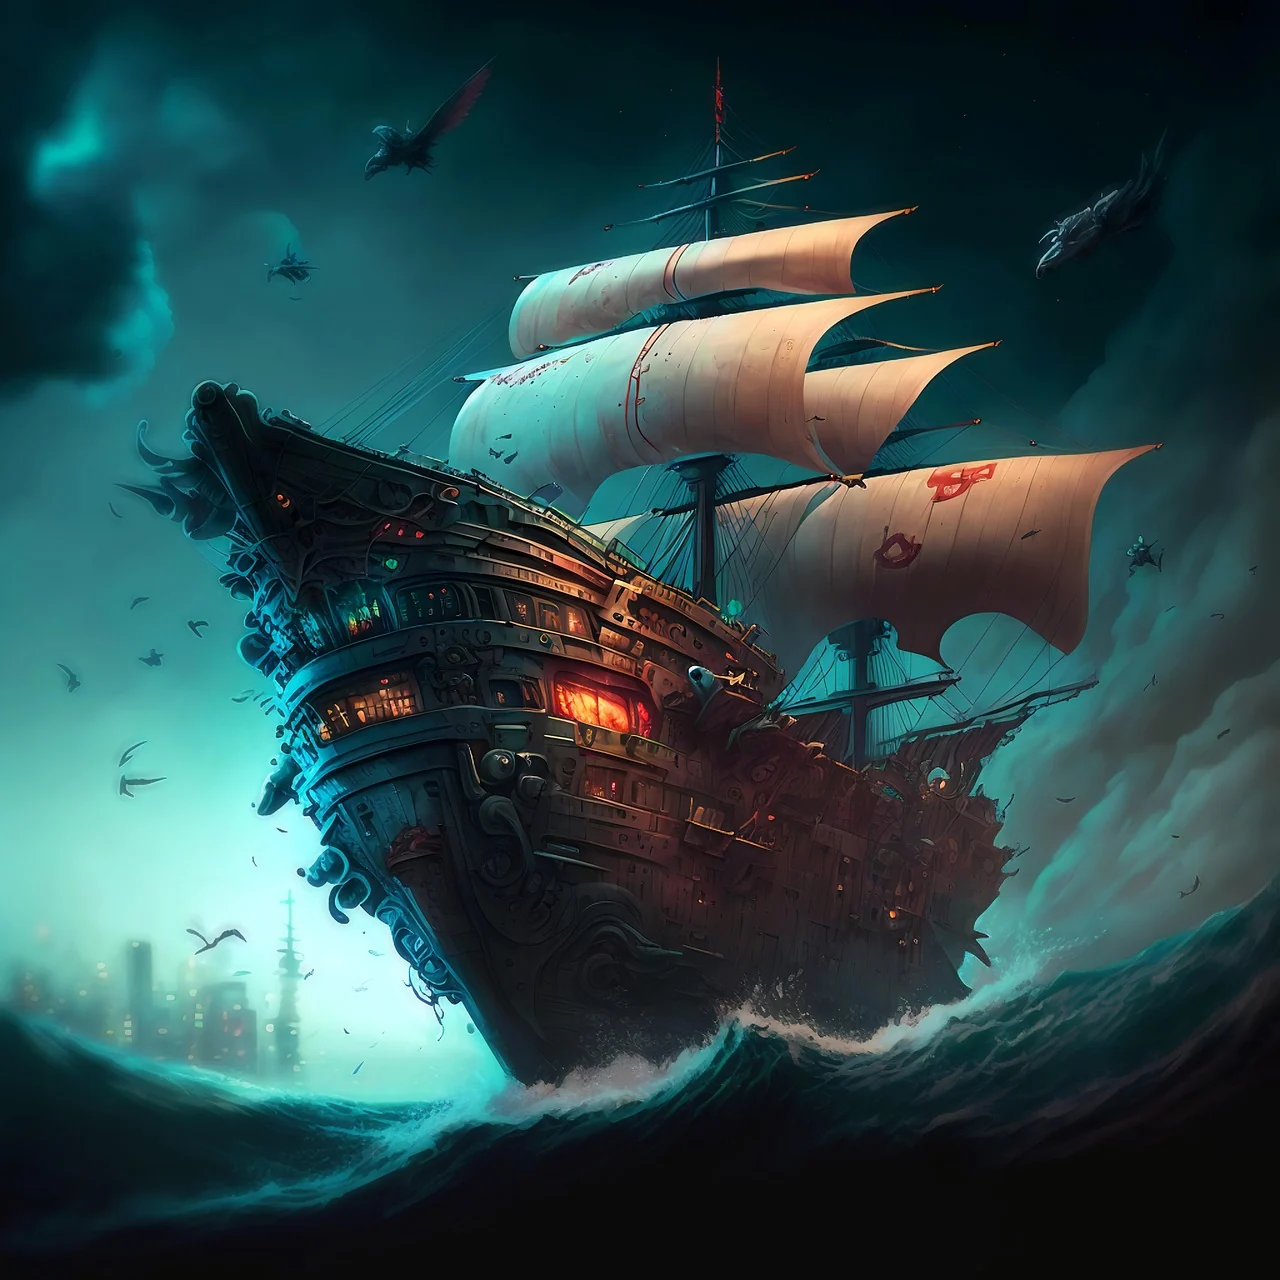
a fantasy caravel beneath teal storm skies. One continuous scene. Keep a clear focal subject, describe one visible action and use restrained camera movement.
 View prompt
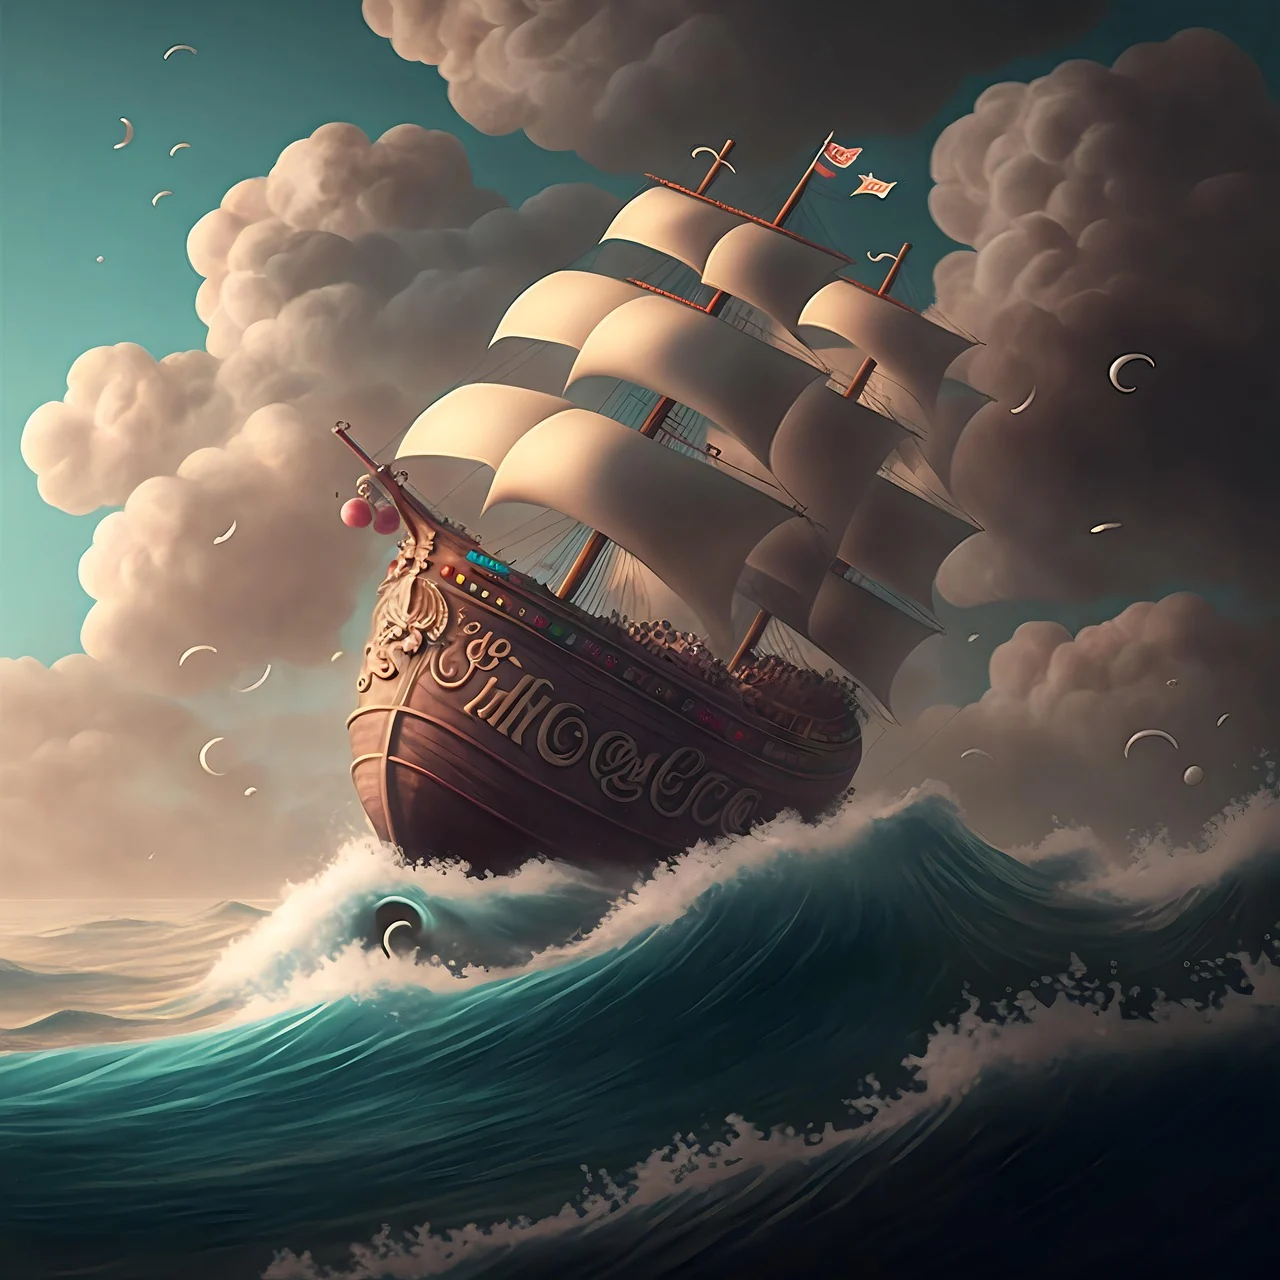
an ornate sailing ship beneath towering waves and clouds. One continuous scene. Keep a clear focal subject, describe one visible action and use restrained camera movement.
 View prompt
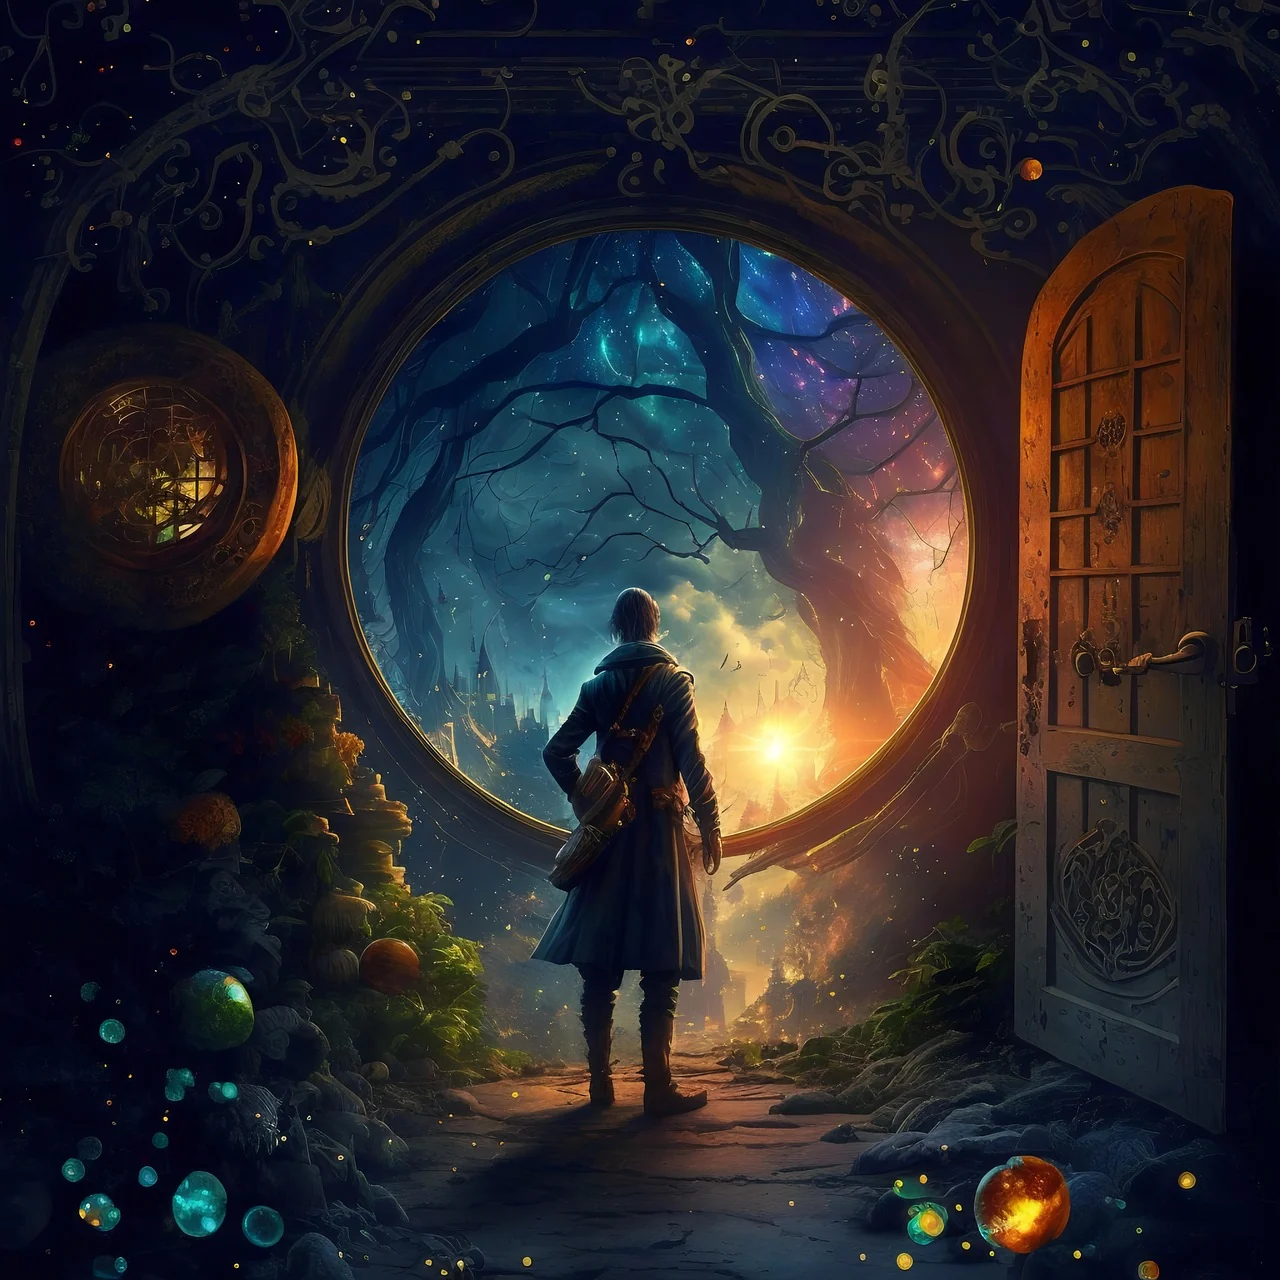
a traveler before a glowing portal to a magical forest. One continuous scene. Keep a clear focal subject, describe one visible action and use restrained camera movement.
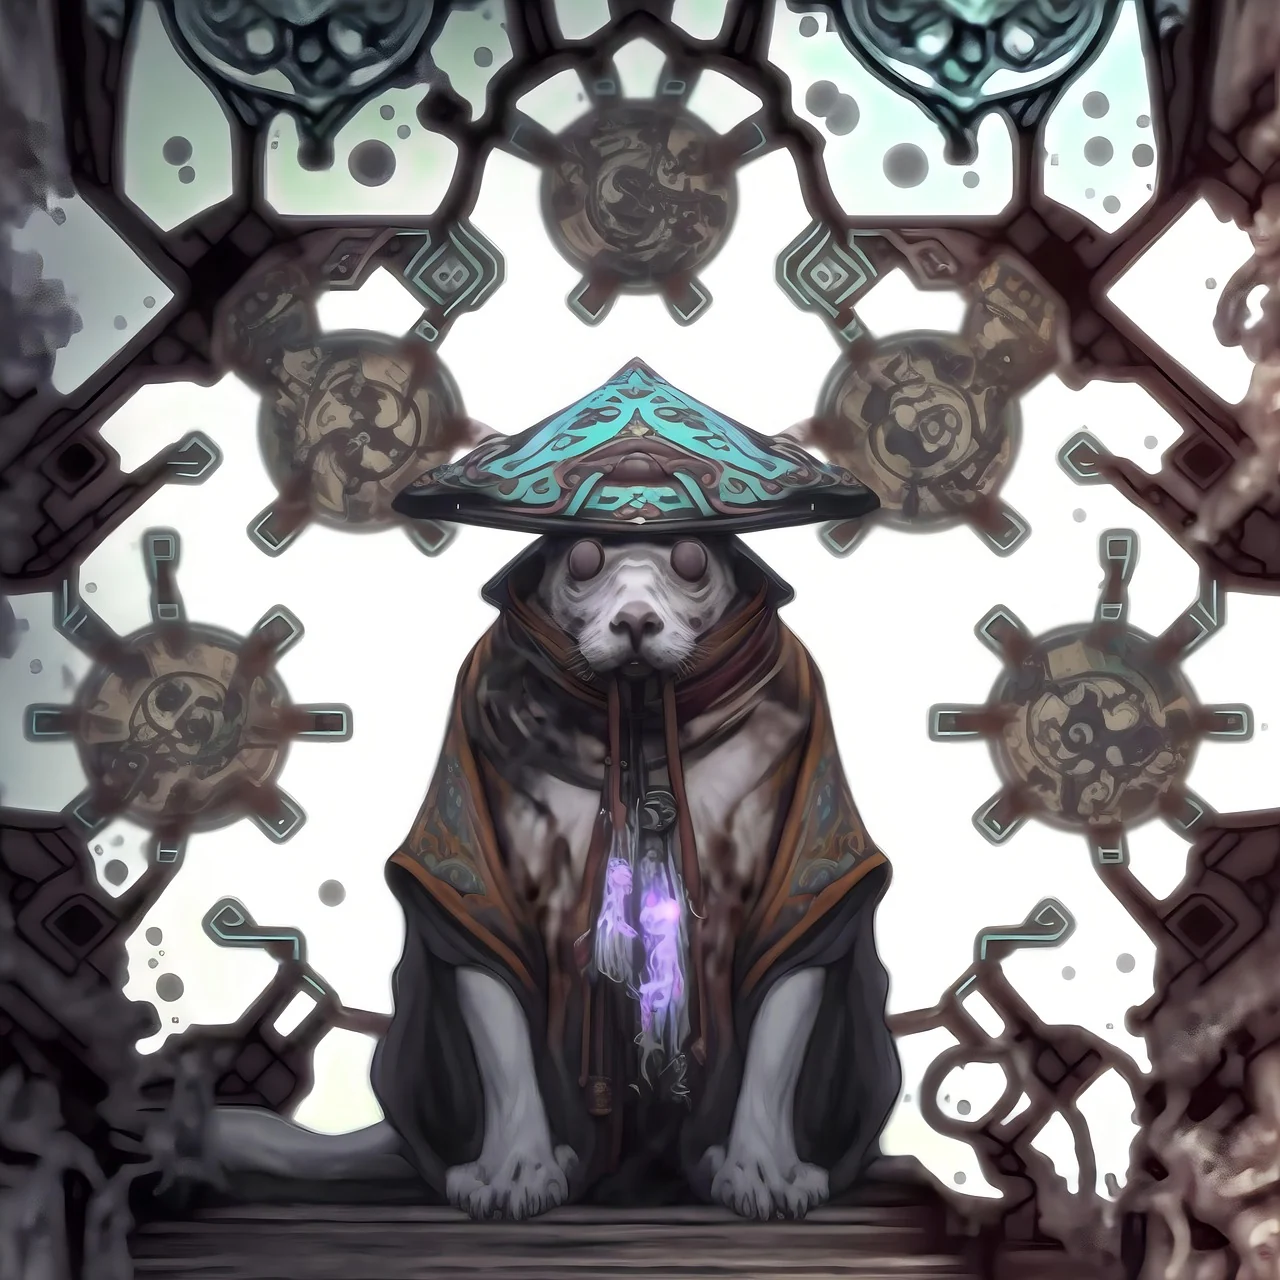 View prompt
a fantasy dog wearing a magical hat before ornate patterns. One continuous scene. Keep a clear focal subject, describe one visible action and use restrained camera movement.
HappyHorse 1.1 starts from a written scene or one defining image. In image mode, the source composition sets the frame ratio, so prepare the picture for its intended destination before uploading. Describe what moves next, then choose a fixed duration from 3 to 15 seconds and 720P or 1080P. Use the separate Reference model when the scene needs several pictures rather than one visual starting point.
HappyHorse 1.1 offers a text-led scene or animation from one source image. Choose the starting point that communicates your idea most clearly, then describe one action and a camera direction. Keep the focus on a character, object or setting that belongs in your finished story.
In text mode, describe the complete scene. In image mode, upload one picture and explain what happens next instead of repeating every visible detail. The source picture supplies the image-mode aspect ratio, so compose it for the destination before uploading.
HappyHorse 1.1 uses fixed lengths from 3 to 15 seconds and 720P or 1080P output here. Image input accepts one picture. Its controls differ from Wan: this workflow does not expose an audio switch, seed or first-and-last-frame mode.
Start with an illustrated character, a product composition or a landscape and describe a restrained movement. If your idea requires several reference pictures, choose the separately listed HappyHorse 1.1 Reference mode. Keep your shot brief and chosen input together for later revisions.
Plan one clear event, choose the matching input and review the complete clip before building the next shot.
Write down the subject, one main action and where the clip will be used. Give the viewer a clear beginning and end.
Use text for a new scene or images for a defined visual direction. Check this model’s input controls before adding references.
Choose a supported duration, resolution and available ratio. Review attachments and sound options, then read the current credit quote before submitting.
Open the task in Assets and watch to the final frame. Compare it with your brief and keep the prompt with the clip for revisions.
Plan one readable gesture: enter a doorway, turn toward a sound or stop at a window. Check clothing and identity throughout the shot.
Reveal one product with a slow camera move or a change in light. Inspect its silhouette, label and key details before choosing the clip.
Introduce a location with mist crossing a valley or traffic passing at dusk. Use one camera direction to connect the place with the next scene.
Give the clip a clear focal point and room for cropping. Assemble selected shots in your editor, then add titles, timing and sound for the channel.
Compare the input and controls you need. Each separate model has its own credit quote.
| Setting | Wan 3.0 | Wan 3.0 Prime | HappyHorse 1.1 | HappyHorse 1.1 Reference |
|---|---|---|---|---|
| Starting point | Text or image | Text or image | Text or image | Images |
| Duration | 2–30 s | 2–30 s | 3–15 s | 3–15 s |
| Resolution | 480P · 720P · 1080P | 480P · 720P · 1080P | 720P · 1080P | 720P · 1080P |
| Image references | Up to 10 images, or first / last frames | Up to 10 images, or first / last frames | One image | Up to 9 images |
| Sound control | Optional audio | Optional audio | No audio switch | No audio switch |
Choose text mode to describe a complete scene, or image mode to start from one picture. The single image supplies the initial composition; explain the action that should follow.
This model accepts one image in image mode. If the scene needs several separate pictures to guide appearance or setting, open HappyHorse 1.1 Reference instead.
HappyHorse 1.1 offers fixed lengths from 3 to 15 seconds and 720P or 1080P in this workspace. Match the amount of action to the selected length.
It does not offer Wan’s 480P option or 2–30-second range. If those controls matter to the shot, compare Wan 3.0 and check its quote before switching.
In image mode, the result follows the source image’s proportions. Compose or crop the image for its destination before uploading, with the subject and important details inside the frame.
In text mode, use a supported ratio offered by the workspace. Recheck the input mode when switching between a written scene and an image-led shot.
This HappyHorse 1.1 workflow does not expose an audio switch. Keep the prompt focused on the visible scene and use the controls offered for this model.
If the request needs a selectable audio setting, inspect Wan 3.0 or Prime. Listen to any returned clip and prepare the final sound separately in your editor.
This workspace provides a single-image starting point rather than first-and-last-frame mode, and it does not expose a seed control for HappyHorse 1.1. Describe the desired progression in the prompt.
If an ending image is essential to planning the shot, use a Wan frames workflow. Check that the new duration, resolution and quote still match your project.
Explain what happens after the source image: the subject looks up, a curtain moves or the camera slowly approaches. Use one main action and a clear pace.
The image already supplies visible appearance, so spend the prompt on movement and relevant continuity. Conflicting instructions can make the intended shot harder to communicate.
Choose HappyHorse 1.1 Reference when different pictures need to guide the same scene; it accepts up to nine images and offers a supported output-ratio selection.
Choose Wan or Prime when the plan needs their longer duration range, 480P, selectable audio or endpoint frames. Review the controls and quote again after switching.
Start with a clear subject, useful detail and a crop that suits the final format. Allow space around the subject for the intended motion and camera movement.
If the composition needs work, prepare it in the image workspace first. Check fine details and edges before uploading because the source ratio carries into image-mode video.
Choose HappyHorse 1.1, set the supported duration and resolution, then read the current credit quote before submitting. A quote from another model does not apply automatically.
Open the original task in Assets if the result is pending or fails. Read the available status and message, and keep the task ID when asking for help before creating another task.
Watch from the source-like opening through the final frame. Check that the subject remains recognisable and that the action, camera movement and crop fit the intended scene.
Review faces, hands, text and product details, plus any sound in the returned file. Confirm the rights to your materials and complete the final edit before publishing.
Choose your starting point, describe one action and check the settings before creating.