Claim 50 free credits · Check in for up to 100 weekly

HAPPY WAN · Wan 3.0

Wan 3.0 AI video generator

Wan 3.0 brings text, reference images and first-frame direction into a single video workflow.

Text or image2–30 s480P · 720P · 1080P
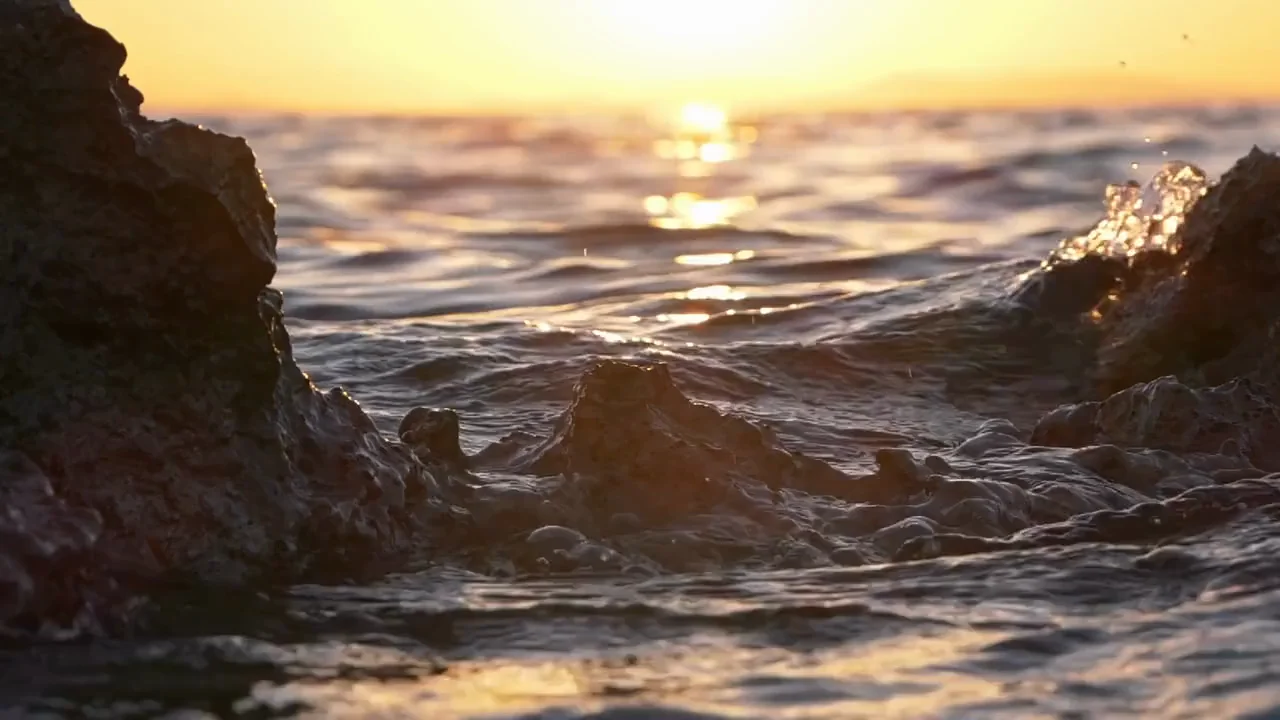
sunlit waves moving around coastal rocks — Wan 3.0

Explore a visual direction for Wan 3.0

Open a scene to inspect its image and prompt, then adapt the subject and movement to your own shot.

What can you make with Wan 3.0?

Wan 3.0 turns a written scene or image-led brief into a video shot. Choose text, up to ten image ingredients, or a first frame with an optional ending frame. Describe one readable action, select a fixed duration from 2 to 30 seconds and choose 480P, 720P or 1080P. An audio option lets you decide whether sound belongs in the shot. Review the whole result before adding it to your edit.

Starting point
Text or image
Duration
2–30 s
Resolution
480P · 720P · 1080P
Image references
Up to 10 images, or first / last frames
Sound control
Optional audio

Give each part of the shot a purpose

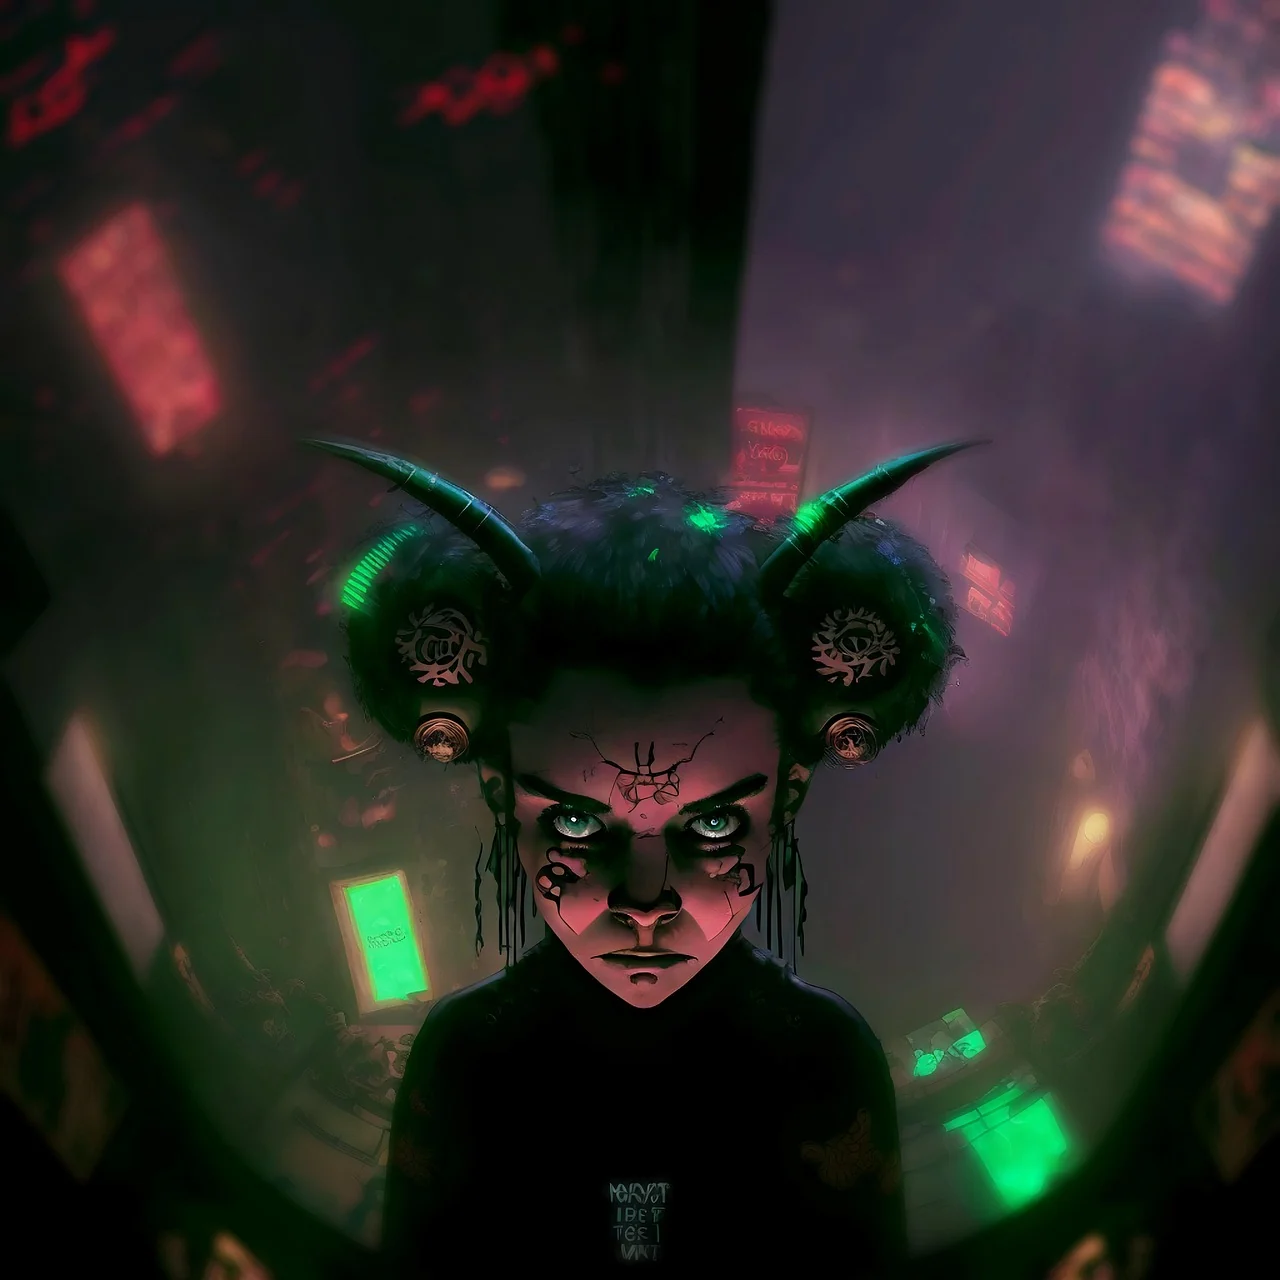
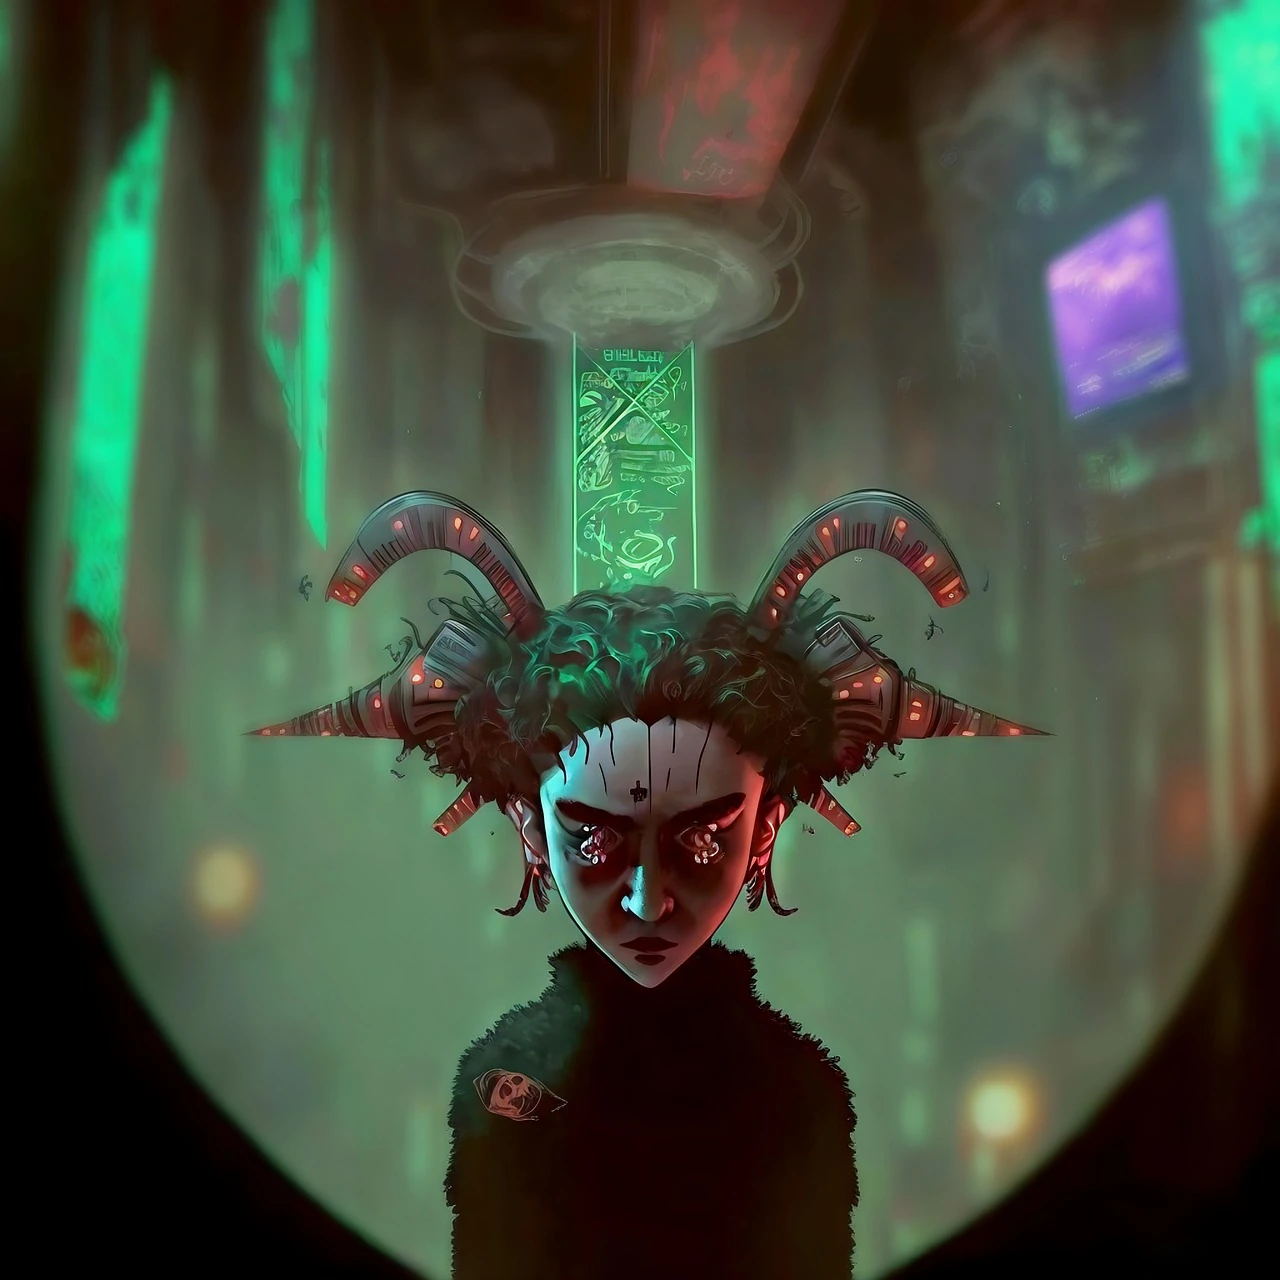
Wan 3.0 example image showing a fantasy figure with a sculptural headdress in green light
01

Text and visual direction

Wan 3.0 brings text, reference images and first-frame direction into a single video workflow. Start with a clear action, choose a supported duration and resolution, and decide whether the shot needs audio. Build character moments, product reveals or an establishing scene with a brief you can refine shot by shot.

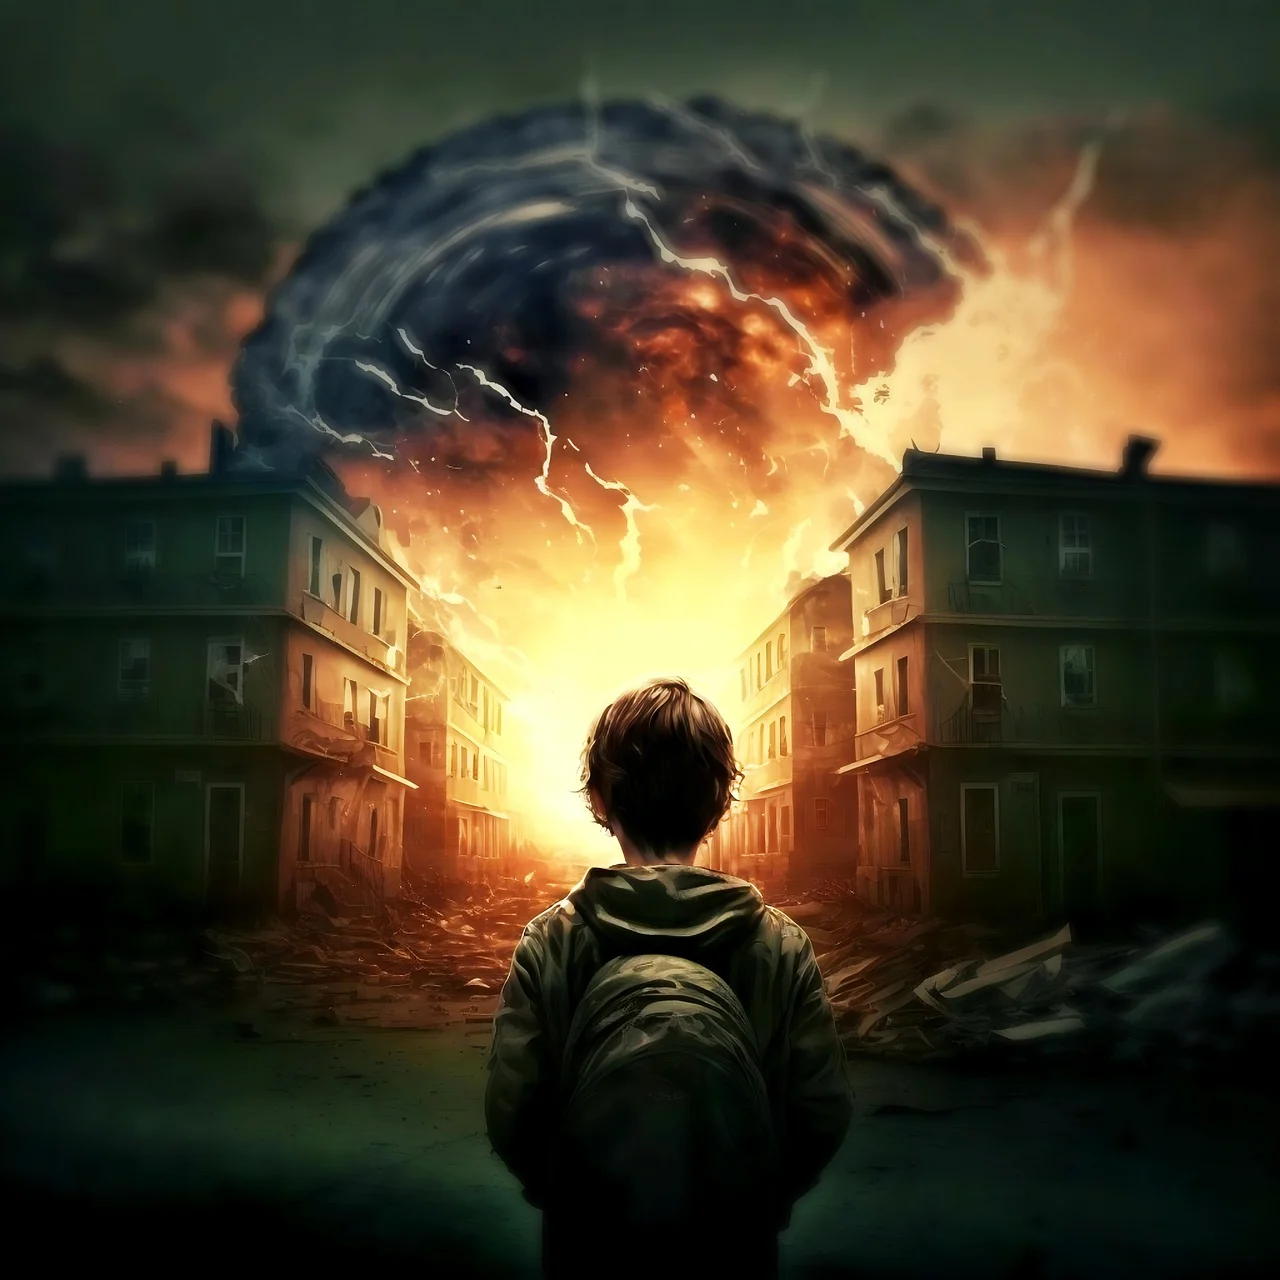
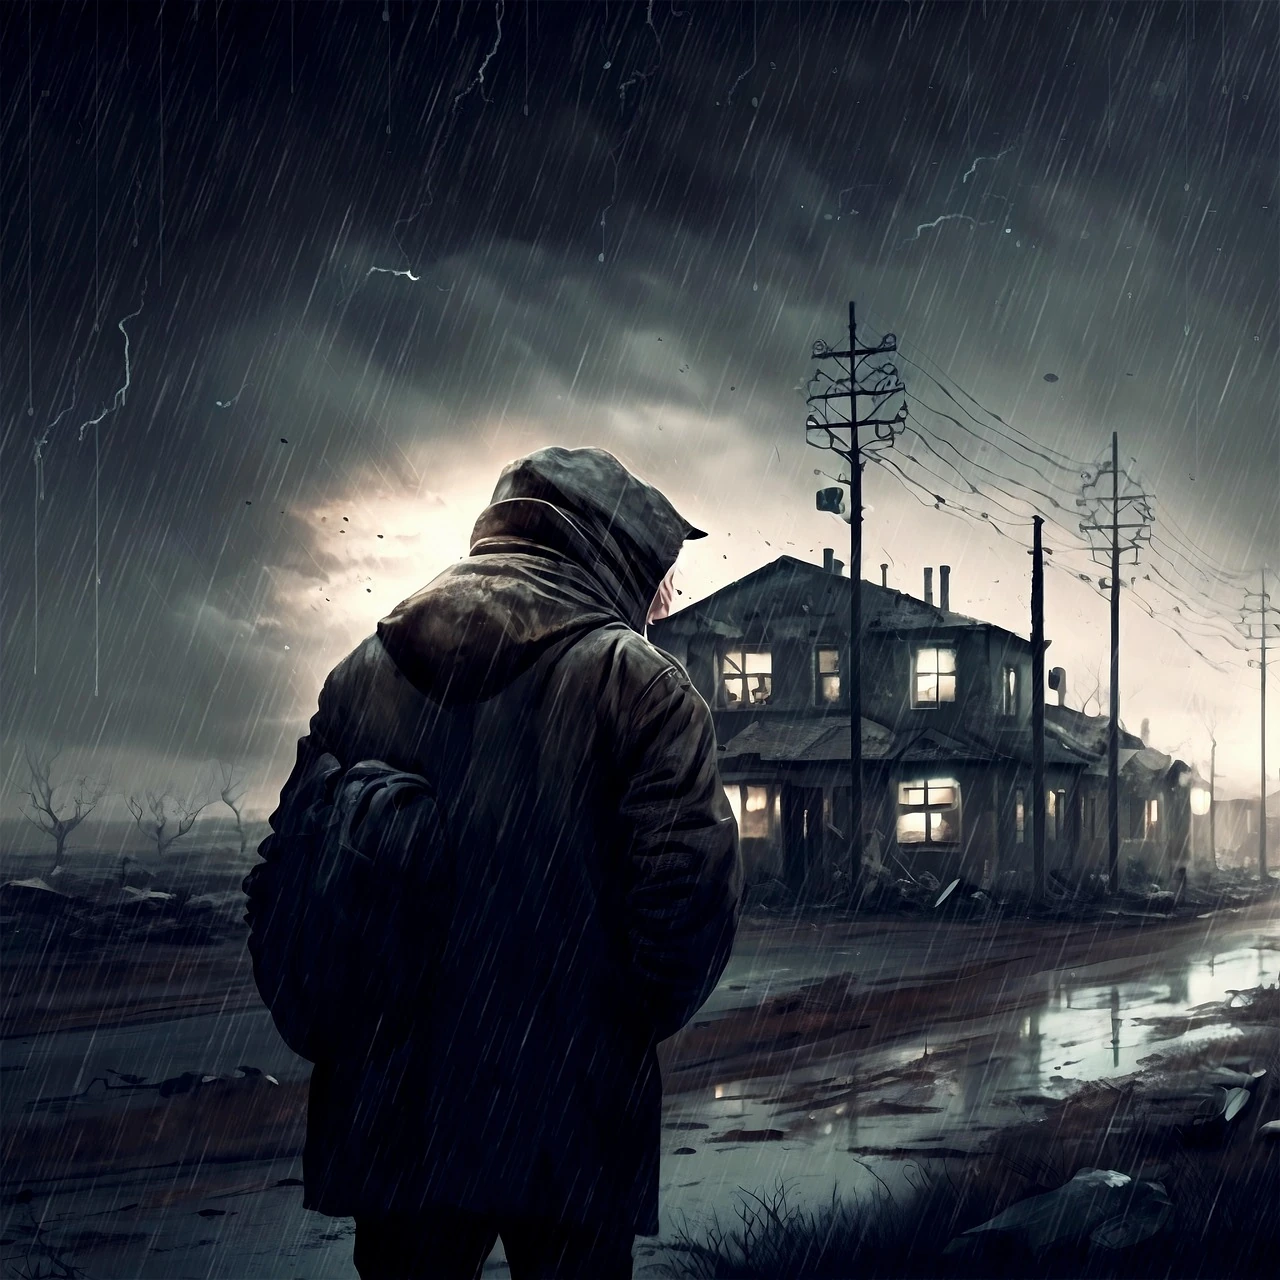
Wan 3.0 example image showing a hooded traveler before a building under storm clouds
02

Reference images

Choose image references for appearance and setting, or frames mode when a specific beginning and ending guide the shot. Explain the action between those moments. This workspace accepts image references; keep video, audio and document references outside this workflow.

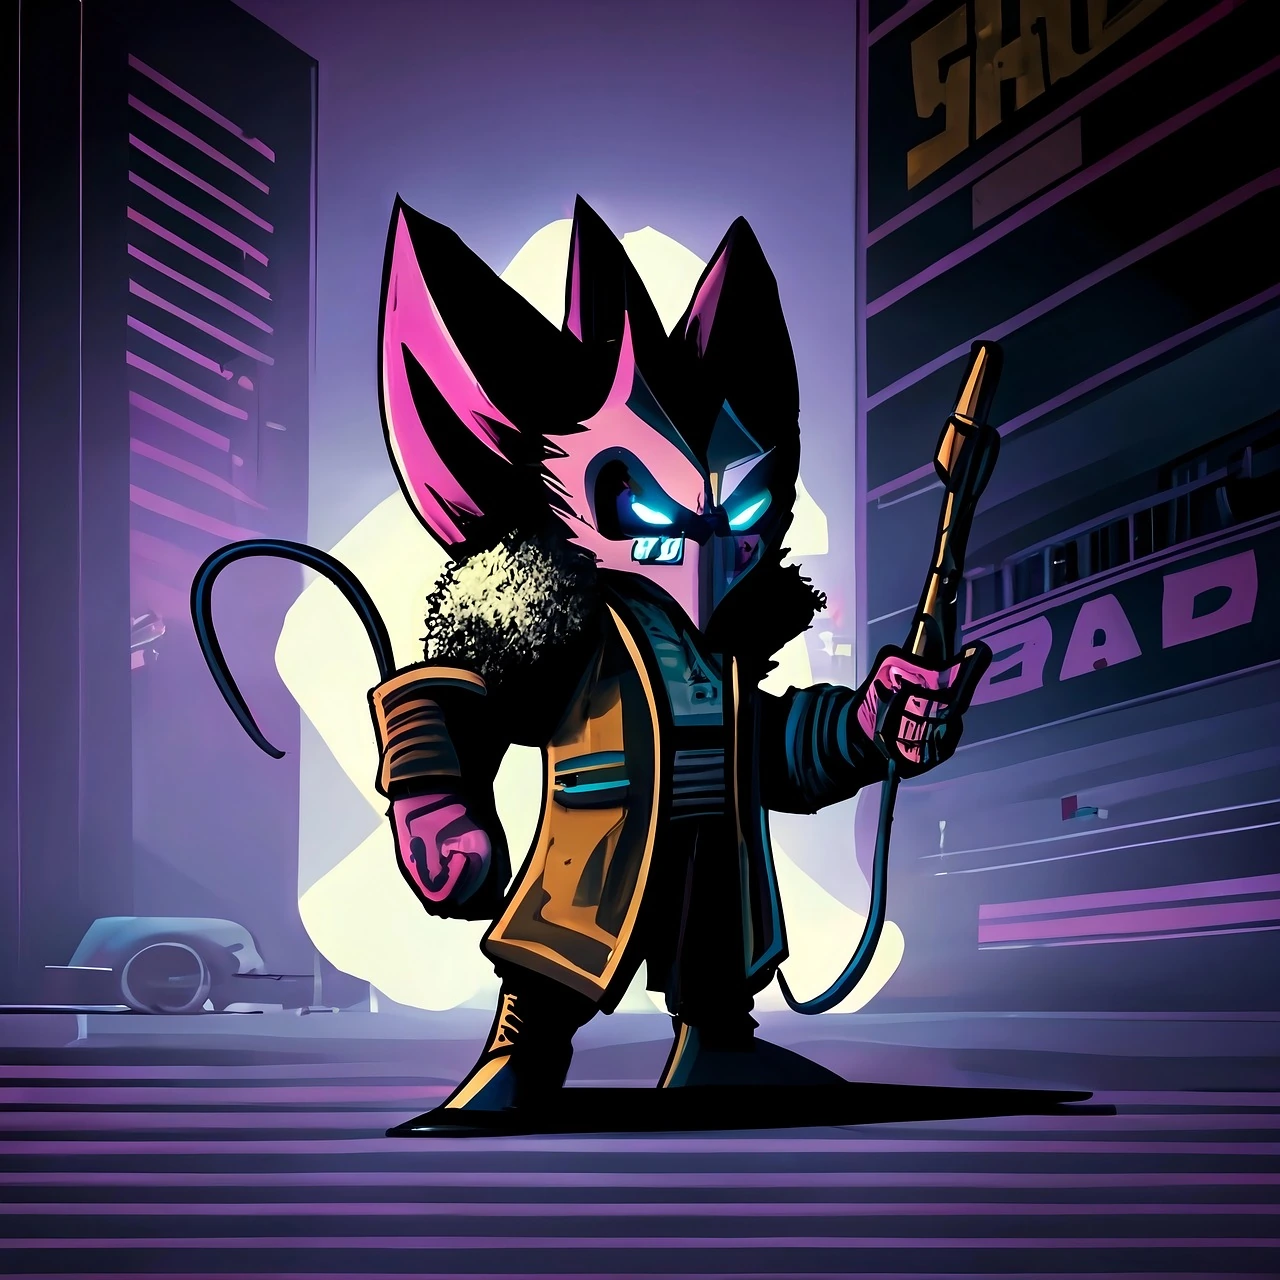
Wan 3.0 example image showing a colorful cat character with a backpack in a neon street
03

Camera and movement

Wan 3.0 supports fixed lengths from 2 to 30 seconds and 480P, 720P or 1080P output in this workspace. Image mode offers up to ten ingredients or a first and optional last frame. Choose a length deliberately; automatic duration is unavailable here.

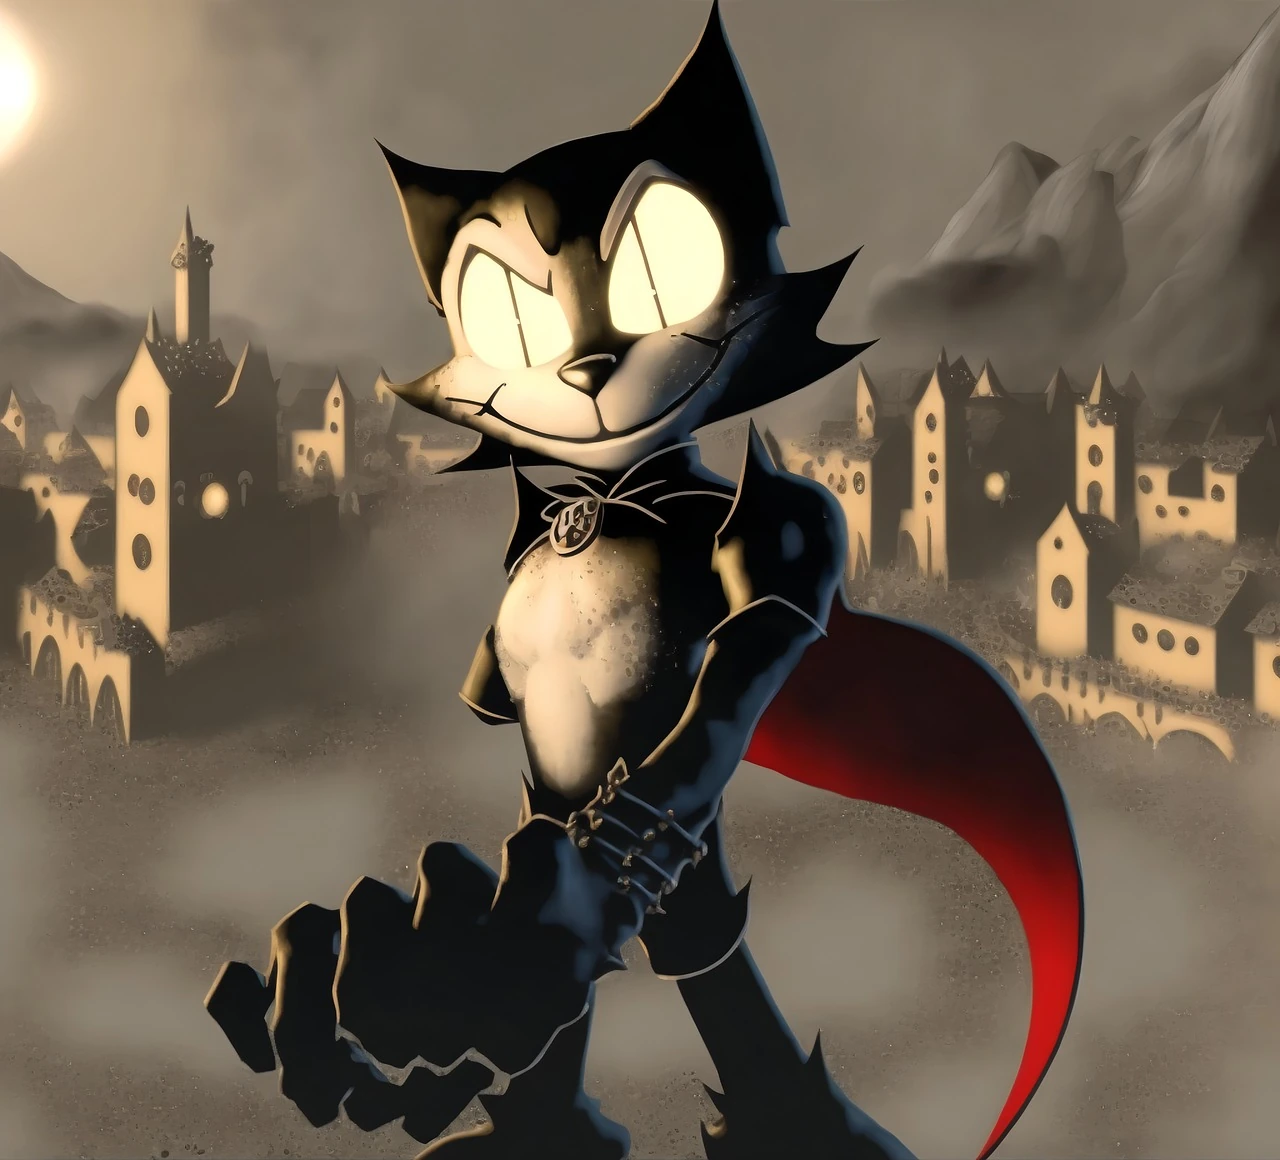
Wan 3.0 example image showing a black cat in a cape before a Gothic village
04

Settings and credits

A character crossing a rainy street, water running through a forest or fabric moving around a product gives the shot one readable event. Describe sound only when audio is selected. Check motion, faces, text and the full ending before selecting a clip for your edit.

Create a shot in four steps

Plan one clear event, choose the matching input and review the complete clip before building the next shot.

  1. 01

    Define the shot

    Write down the subject, one main action and where the clip will be used. Give the viewer a clear beginning and end.

  2. 02

    Prepare the input

    Use text for a new scene or images for a defined visual direction. Check this model’s input controls before adding references.

  3. 03

    Check settings and the quote

    Choose a supported duration, resolution and available ratio. Review attachments and sound options, then read the current credit quote before submitting.

  4. 04

    Watch the full result

    Open the task in Assets and watch to the final frame. Compare it with your brief and keep the prompt with the clip for revisions.

Four directions for your next scene

01

A character’s entrance

Plan one readable gesture: enter a doorway, turn toward a sound or stop at a window. Check clothing and identity throughout the shot.

02

A product in context

Reveal one product with a slow camera move or a change in light. Inspect its silhouette, label and key details before choosing the clip.

03

An establishing scene

Introduce a location with mist crossing a valley or traffic passing at dusk. Use one camera direction to connect the place with the next scene.

04

A social video sequence

Give the clip a clear focal point and room for cropping. Assemble selected shots in your editor, then add titles, timing and sound for the channel.

Choose the workflow for your shot

Compare the input and controls you need. Each separate model has its own credit quote.

SettingWan 3.0Wan 3.0 PrimeHappyHorse 1.1HappyHorse 1.1 Reference
Starting pointText or imageText or imageText or imageImages
Duration2–30 s2–30 s3–15 s3–15 s
Resolution480P · 720P · 1080P480P · 720P · 1080P720P · 1080P720P · 1080P
Image referencesUp to 10 images, or first / last framesUp to 10 images, or first / last framesOne imageUp to 9 images
Sound controlOptional audioOptional audioNo audio switchNo audio switch

Open video workspace Pricing

Questions about Wan 3.0

Which inputs can I use in Wan 3.0?

Choose text to describe a new scene, or image mode to provide visual material. Image ingredients accept up to ten pictures; frames mode uses a first image and an optional last image.

Use ingredients for subject and setting guidance, or frames when the planned beginning and ending matter. This workflow accepts images rather than video, audio or document references.

What durations and resolutions are available?

Select a fixed duration from 2 to 30 seconds and 480P, 720P or 1080P in the workspace. Choose enough time for the action to be readable without packing several scenes into one clip.

Duration is chosen before submission; automatic duration is unavailable here. Changing the length or resolution changes the quote, so check it again before creating.

How should I choose the frame ratio?

Use a supported ratio shown in the current input mode and plan the composition for the destination. Give the subject room to move and leave space for any titles you will add later.

Check your reference crop as well as the output setting. A wide source with important details at the edges can become difficult to use in a vertical edit.

Can I choose whether the video has audio?

Wan 3.0 provides an audio option. Select it when sound belongs in the shot and describe the relevant atmosphere or sound event alongside the visible action.

Watch and listen to the completed clip before using it. Check timing, unwanted sounds and any dialogue, then make the final mix in your editing tool.

How do first and last frames work?

Choose frames mode, add the first image and add a last image if you need to guide the ending. Explain the movement that connects the two visual states.

Keep identity, lighting and composition reasonably compatible between the images. An ending reference gives direction; inspect the actual final frame rather than assuming an exact match.

What should I put in the prompt?

Name the subject, one action, the setting and a useful camera direction. For example, ask a traveller to turn toward a station window while the camera moves slowly closer.

With images attached, focus on what changes and what should remain recognisable. Avoid conflicting camera moves or several sequential scenes in one short request.

When should I switch to another model?

Open Wan 3.0 Prime to explore its separate interpretation with similar input controls. Keep the brief and chosen settings comparable, then check Prime’s own quote.

HappyHorse 1.1 offers text or one image for 3–15-second clips; Reference accepts up to nine images. Choose according to the inputs and controls your scene needs, rather than the model name alone.

How should I prepare images?

Use clear images with a visible subject and deliberate crop. For ingredients, assign distinct roles such as character, clothing and location, and remove unrelated or conflicting pictures.

For frames mode, check both endpoints at full size. Prepare or edit a source image in the image workspace if important details are missing before adding it to video creation.

Where do I check the quote and a failed task?

Read the current credit quote after choosing the model, duration and resolution. Confirm the final settings before submitting instead of assuming that an earlier quote still applies.

If a task is pending or fails, open its record in Assets and inspect the status and available message. Keep the task ID for support and check the original record before submitting another task.

What should I check before publishing?

Watch the whole clip, including its ending. Inspect faces, hands, product details, text, movement and audio where selected; a good opening frame alone is not enough.

Confirm that you may use the input material and the intended content. Finish cropping, titles, sound and timing in your editor, then review the exported version for its publishing channel.

Bring your next scene into motion

Choose your starting point, describe one action and check the settings before creating.